
How to Film Better Travel Footage on Your iPhone
Whether you’re leading a missions trip, studying abroad, or just traveling with friends, you’ve probably had a moment where you pulled out your phone to record something cool only to later realize that the footage didn’t quite do it justice. Or maybe you’re in charge of editing the video and wish you could go back in time and tell your self to not forget to capture different shots that you now realize you need to tell the story.
At Wyld Story, we often work with clients who want to capture footage while they’re in the field. But here’s the thing: not all video is created equal. If you want your iPhone clips to be usable in real videos (like promo reels, recap films, or story-driven edits), you’ve got to approach filming with intention.
Here’s a simple guide to filming better travel footage; stuff that’s not just cool to capture, but actually useful when it comes time to tell a compelling story.
📱 Step One: Set Up Your iPhone
Before you ever hit record, make sure your camera is dialed in.
Record in 4K at 60 fps (frames per second):
Go to Settings > Camera > Record Video
Choose 4K at 60 fps
If your phone doesn’t support 60, just choose the highest frame rate available. But don’t go higher than 60 haha no one wants an entire folder of 120 or 240 fps shots.
This gives your footage the best chance of looking smooth and professional.
Turn on the Grid:
In Settings > Camera, toggle ON the Grid
This helps you frame your shots using the Rule of Thirds (more on that in a minute)
⬅️ Always Film Horizontally
This one’s huge.
Turn your phone sideways.
Horizontal footage can be used for websites, full screen edits, YouTube, promo videos, you name it. Vertical footage? Pretty much just Instagram Stories or TikToks. But since we’re filming in 4k we can crop that horizontal footage into vertical clips, so it’s the best of both worlds (cue hannah montana theme music)
Unless you’re specifically shooting for social, go horizontal. Always.
🎞️ What Should You Film?
Don’t try to film everything. You’re not capturing the whole story in one long take. You’re gathering little puzzle pieces for an editor to work with later.
Try Using the SHOT Framework:
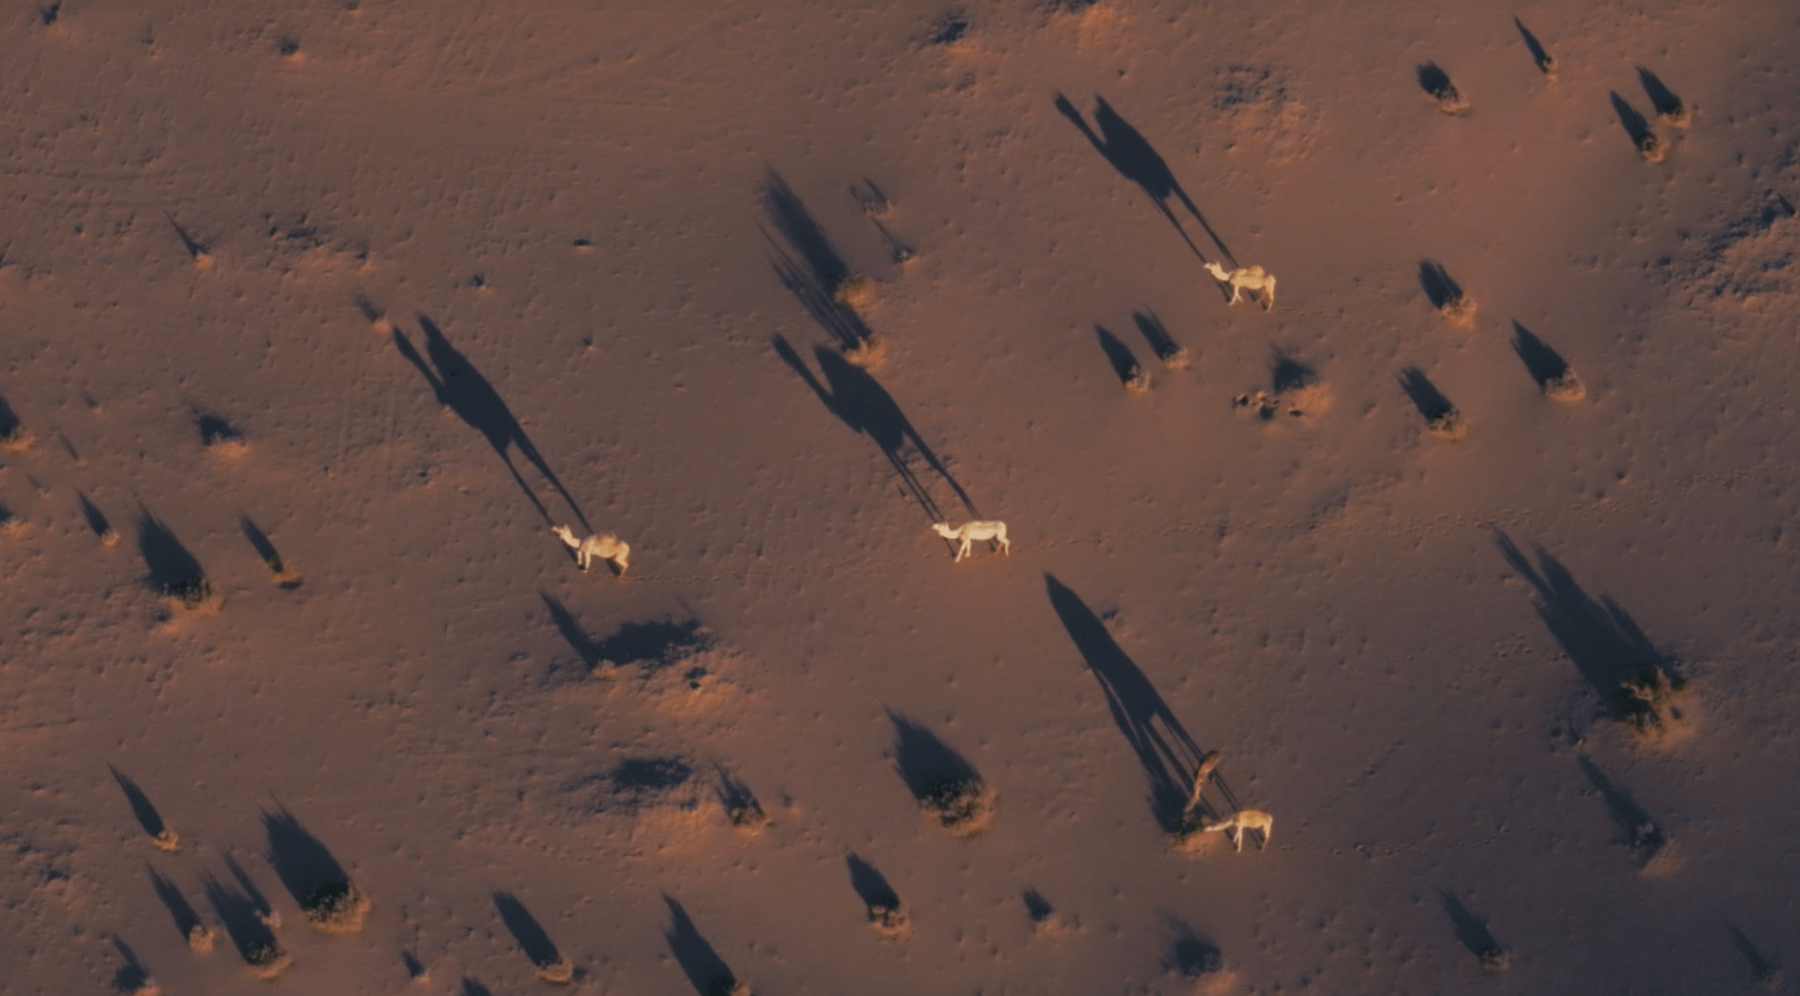
S – Standout
Something filmed from a creative angle. Maybe from the ground. Maybe overhead. Maybe you’re playing with lighting and shadows. It’s the artsy one, but you don’t need too many of these.
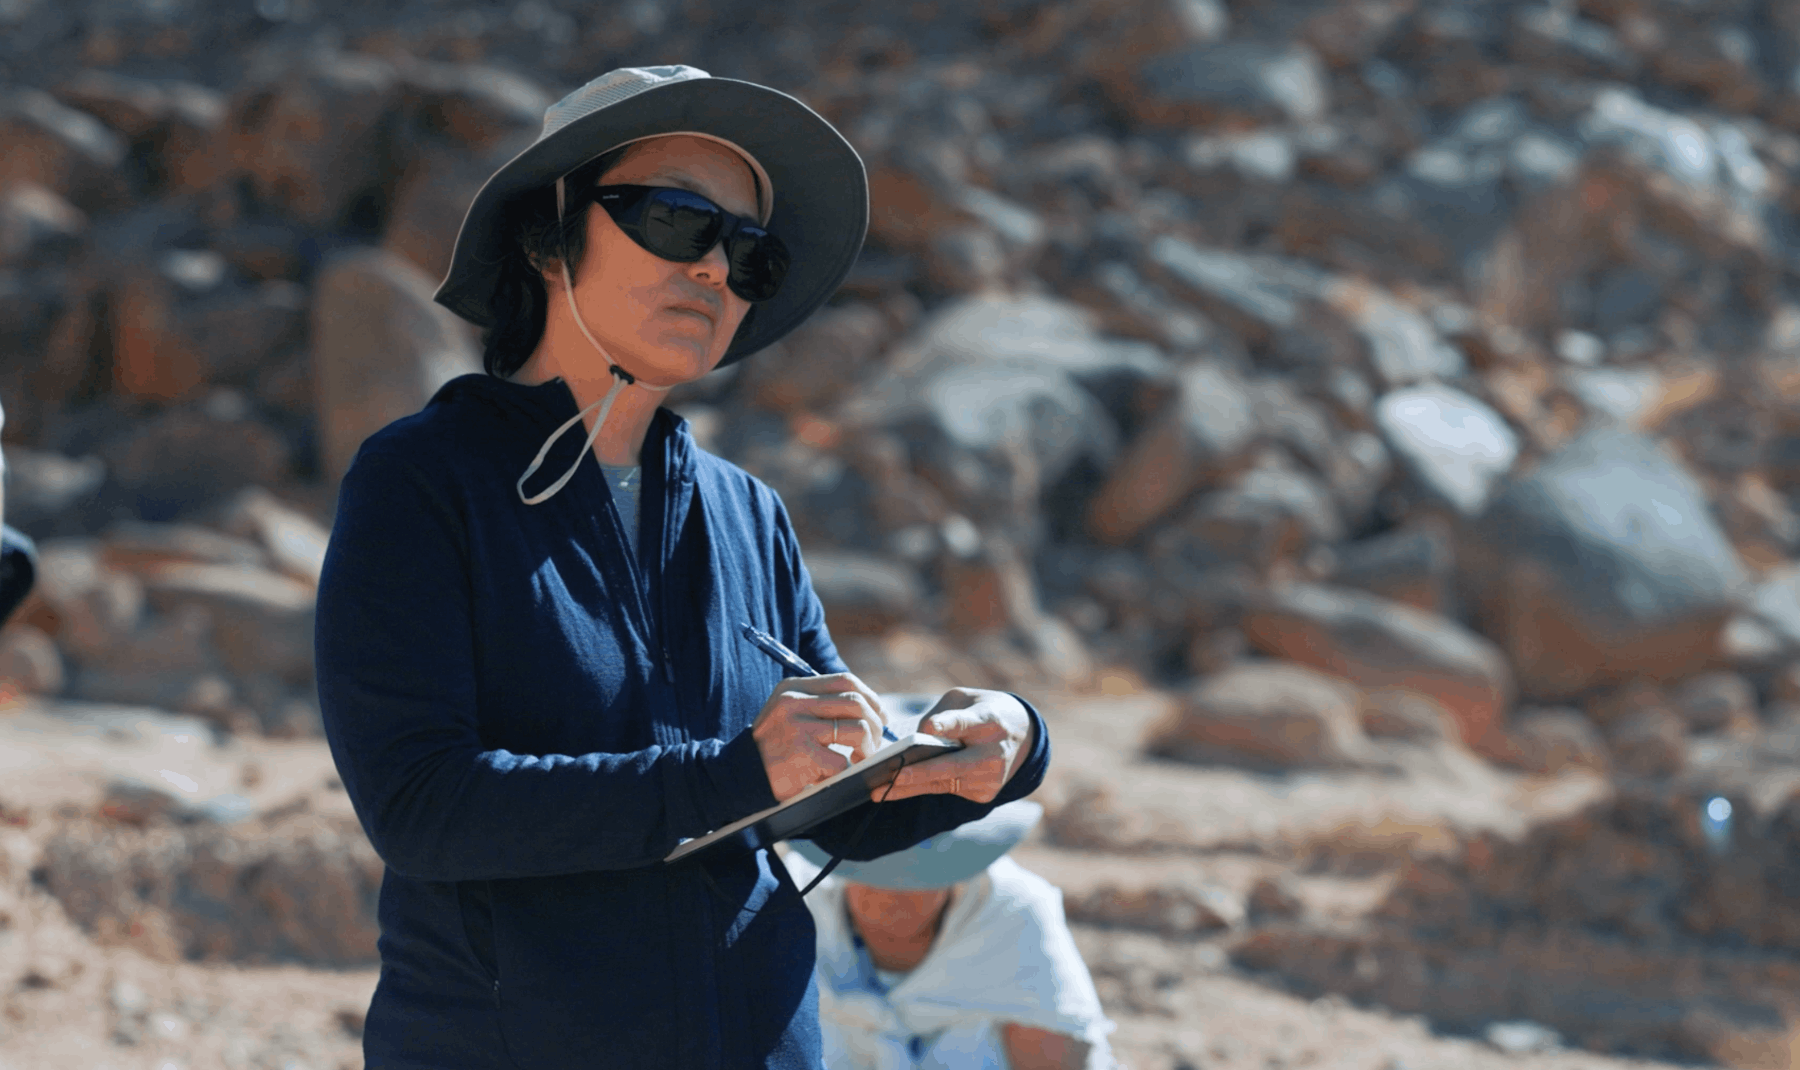
H – Hero
This is your medium shot. Who’s the moment about? Get them in the frame. Make it obvious. Don’t put it on the viewer to try and figure out what the shot is communicating.
O – Opener
Your wide shot. Where are we? This sets the stage and gives context.

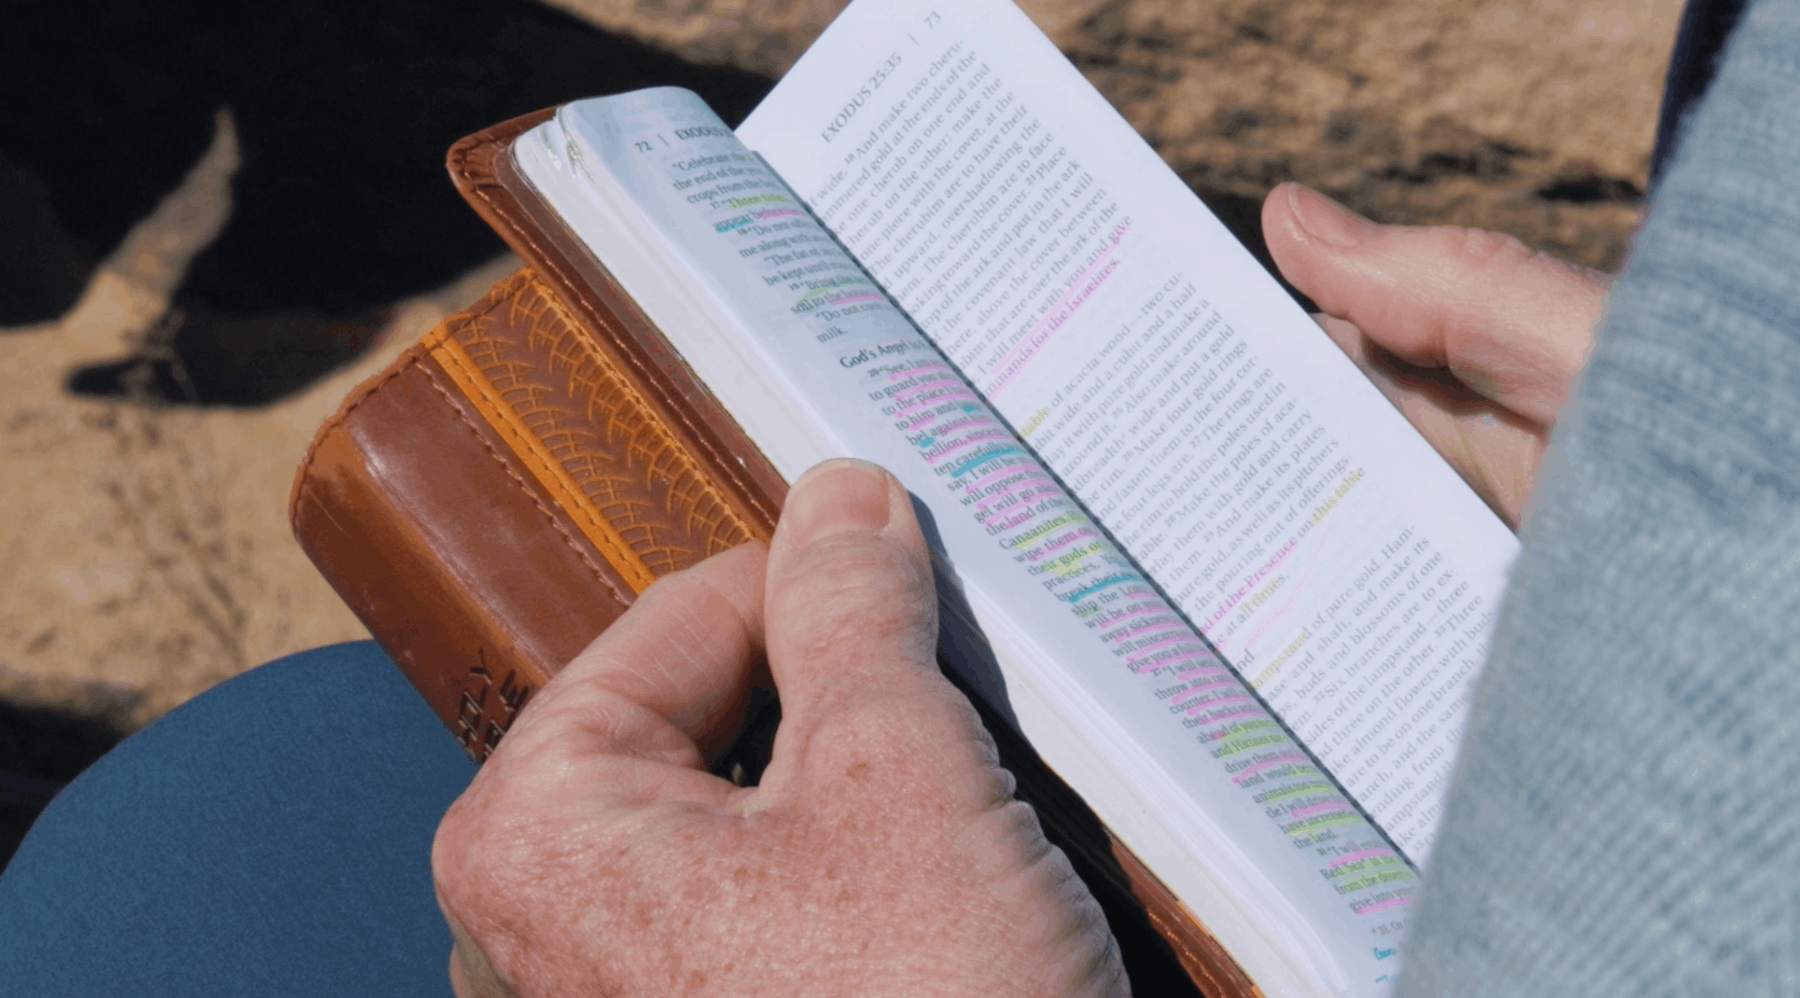
T – Texture
Close-ups that make people feel the moment. A hand gripping a bus handle. Sandals on ancient stone. Writing notes or flipping pages.
🎬 Tips for Filming Great B-Roll
B-roll is just “rolling” footage. Shots that show action or atmosphere without necessarily needing audio.
Here’s how to make it good:
Hold each shot for at least 10 seconds.
No quick 2-second pans. Give the editor room to work with.
Stay steady.
Don’t follow the subject. Let the moment happen inside the frame.
No zooming. No panning. No shaky moves.
Treat your phone like it’s locked off on a tripod.
Be an observer.
Ask: What’s actually happening here? What’s the story behind this moment?
Example:
Say your group is standing in front of a cathedral:
Shot of just the cathedral? = “Here’s a building.”
Shot of the group looking at it? = “We’re here seeing this building.”
Shot from in front of the group? = “We’re amazed by it.”
Shot as the group walks toward it? = “We’re going there.”
Shot as they walk away? = “We’ve been there.”
Think about what your clip is saying, not just what it’s showing. In order to tell a story that make sense, you need to get shots that answer the Who, What, Where, and Why questions. If you can answer a couple of those questions in a single shot that’s great, and if not just keep getting shots until you think you have all those answers.
🎯 How to Frame Better Shots
This is where the Grid helps.
Use the Rule of Thirds:
Place people or key objects along the grid lines or at their intersections—not dead center all the time.
Watch your headroom:
Don’t cut off people’s foreheads or feet. Leave just enough space above the head, especially in wide or medium shots.
Level your horizons:
Tilted shots are distracting. Use the grid to keep things straight.
Ask yourself:
“What is this shot saying?”
Is it about the place? The people? The emotion of the moment? The more layers you can communicate visually, the better.
✅ Quick Checklist Before You Hit Record:
Camera set to 4K60 (or highest possible)
Filming horizontally
Grid turned ON
Shots held for at least 10 seconds
No movement—steady, clean, simple
Framing makes visual sense
The clip communicates a moment, not just a thing
Why This Matters
You don’t need to be a professional filmmaker to capture beautiful, meaningful footage. But if you take a moment to be intentional, just a few small changes in how you film, you’ll be amazed at how much more powerful your travel videos become.
These little clips? They can help tell the story of a trip, a team, or a moment in a way that actually connects. And when done well, they become something worth watching again.
Want more filming tips or example footage? Reach out or follow along on Instagram where we break this down even more.
To see how all of these shots can come together in an edit, check out our newest video for GTI below: